In fact, this chassis I started in early August last year, before I always like the Core P5, this MOD-type chassis is particularly suitable for the overall water-cooling, just to start when just caught up with Core P3 release (in fact, when writing this article Just caught up with the release of Core P1), but because I was busy measuring GTX1080
And renovation of new homes, so this Core P3 did not have time to split water and write a review after the start, only about 1 month to write about what is worth buying Core P3 Wikipedia
In fact, everyone has a lot of controversy about this kind of chassis. One side thinks that excessive radiation is very unhealthy. One side thinks ionizing radiation and electromagnetic radiation are two concepts. We do not discuss the issue of radiation here, and we hope everyone can read it. Don't follow this in the future!
Out of the boxIt was really busy and I didn’t have time to fix it.
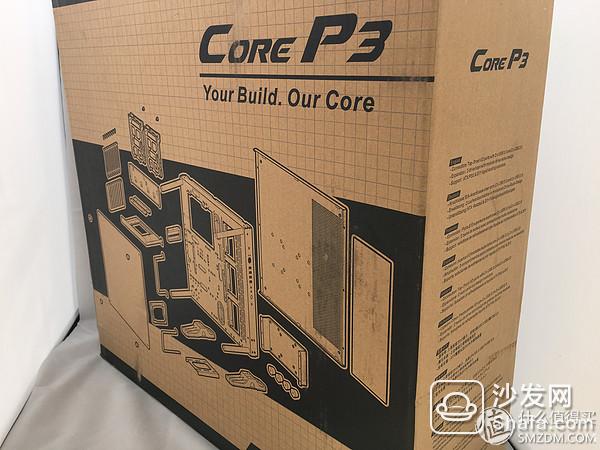
â–² box package at a glance to explain the MOD property
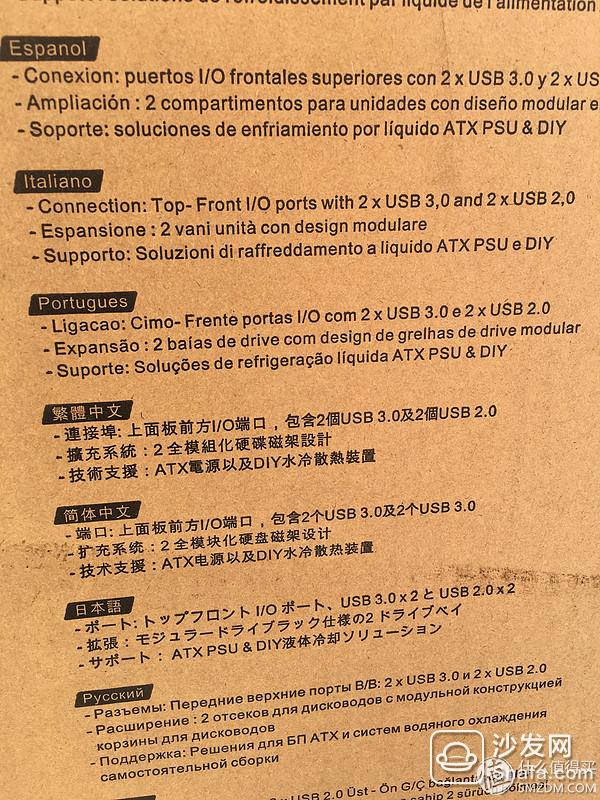
â–² Multi-language side of the package is written with the chassis interface and some specifications
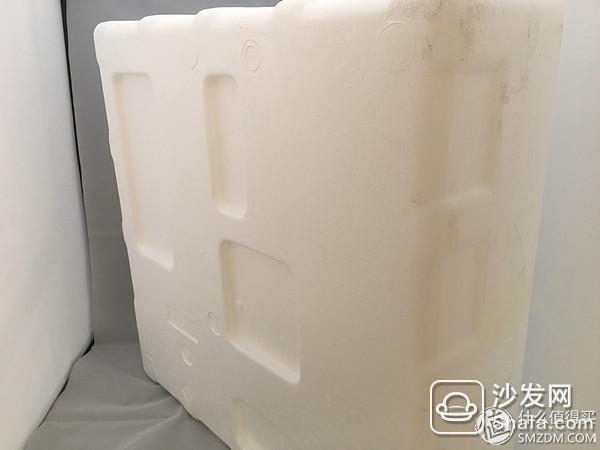
â–² The overall protection of the chassis is in place
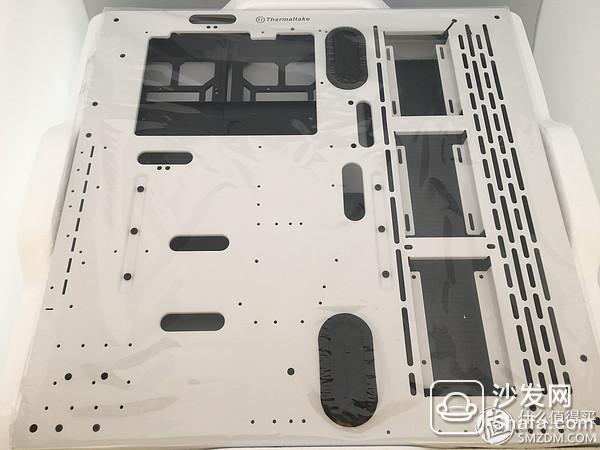
â–² open to see the overall structure of the large chassis, but still relatively small compared to the Core P5

â–² After taking out the rack, there is an acrylic panel
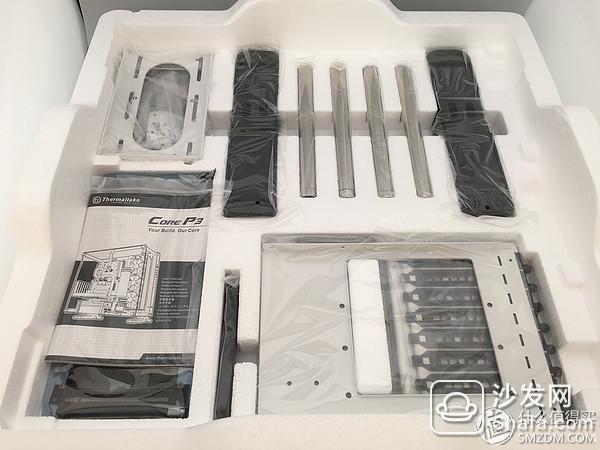
â–² The next step is to assemble the accessories needed for the chassis.

â–² You can see a 360-degree cold row on the right side of the front of the rack. Maximum support for E-ATX motherboards
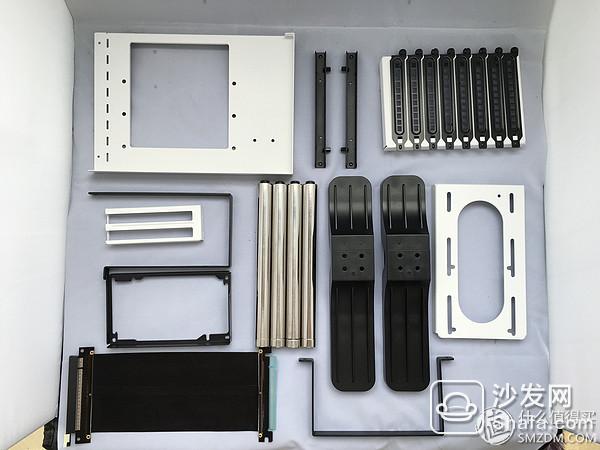
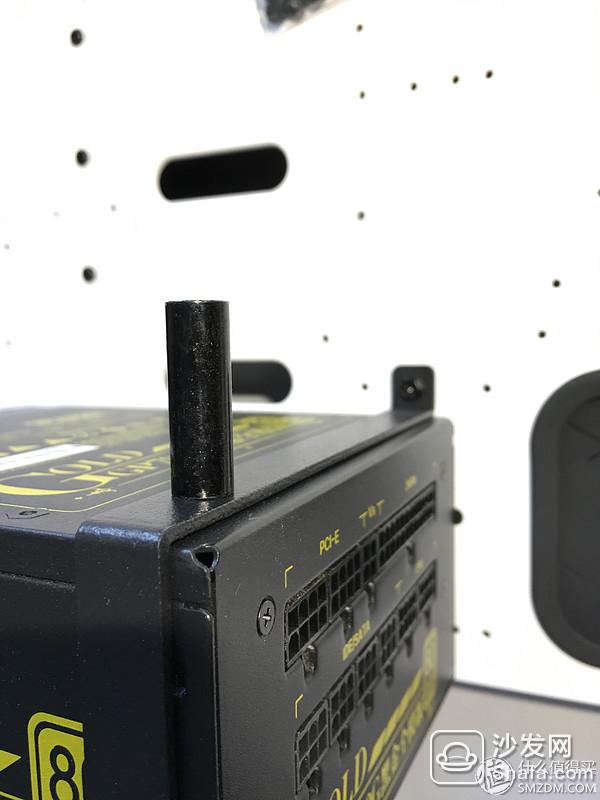
â–²Accessories include power stand, graphics support, tripod, 4 steel columns, DC pump tank bracket and PCI-E extension cable
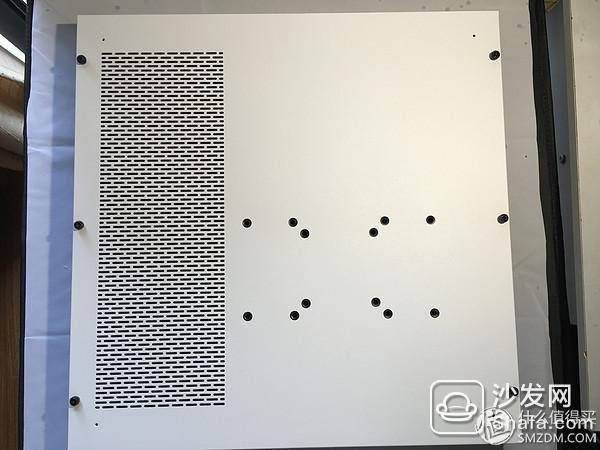
â–² You can see the Core P3 supports wall hanging
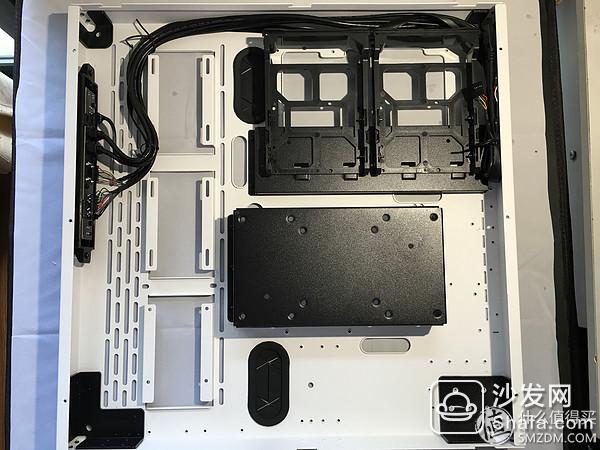
▲ Open the back panel to see two 3.5-inch hard disk racks and wall-mounted fixed bases. The internal space is so large that they don’t need to go back at all (in fact, there is no way to go). Simply put the various lines in a mess. The
InstalledAs I said before, I was very busy during that time, and I had no time to do split water cooling. I bought the integrated water cooling system and I thought I would not wait until I was busy (so the draft was dragged to the present).
â–² First load the power and fix the bracket
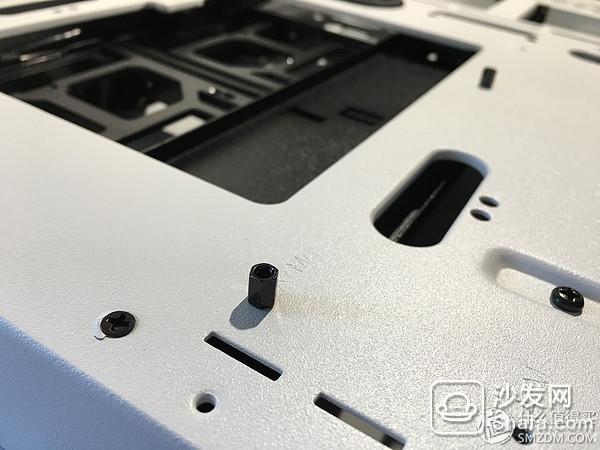
â–² Mount the motherboard copper pillar
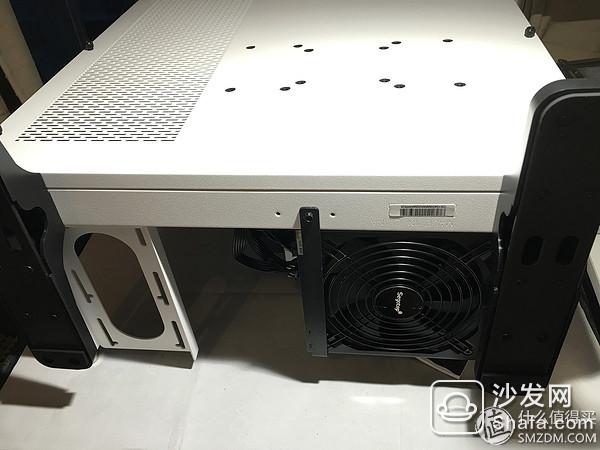
â–²Into the DC pump bracket and the whole tripod
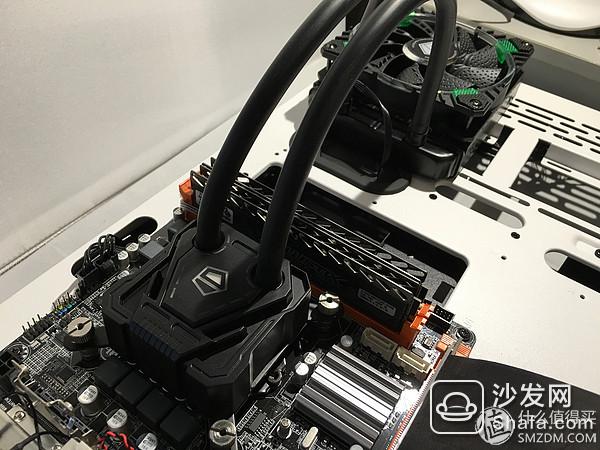
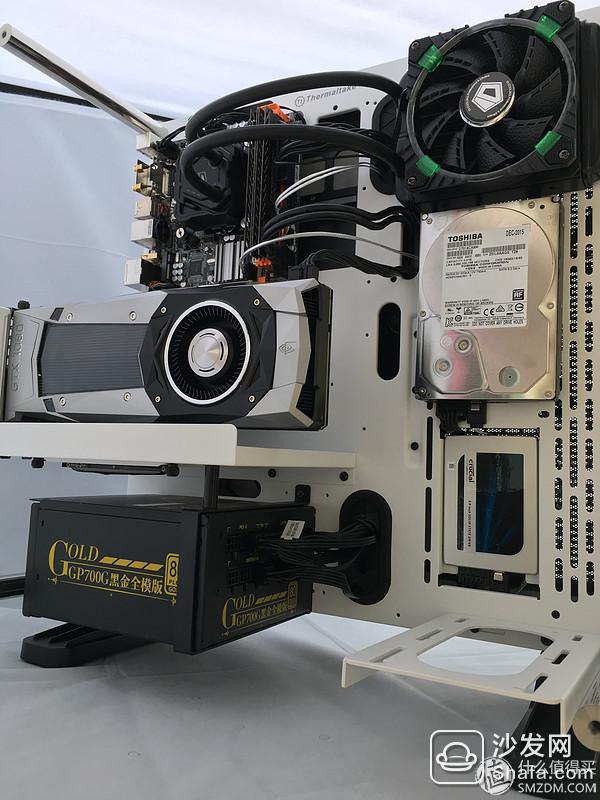
â–² install the motherboard and integrated water-cooled, this water-cooling I feel very pretty light, 120-line cooling is generally not to force
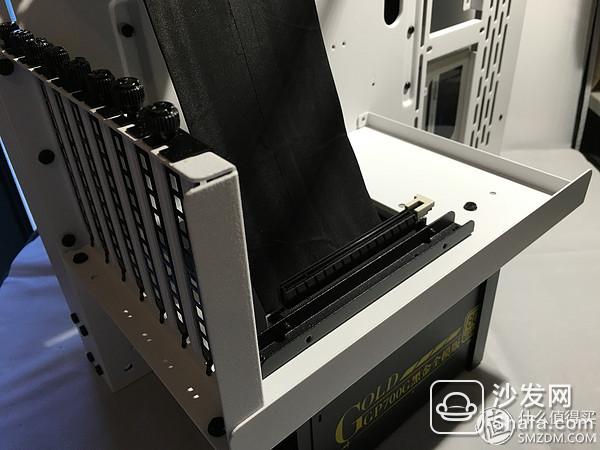
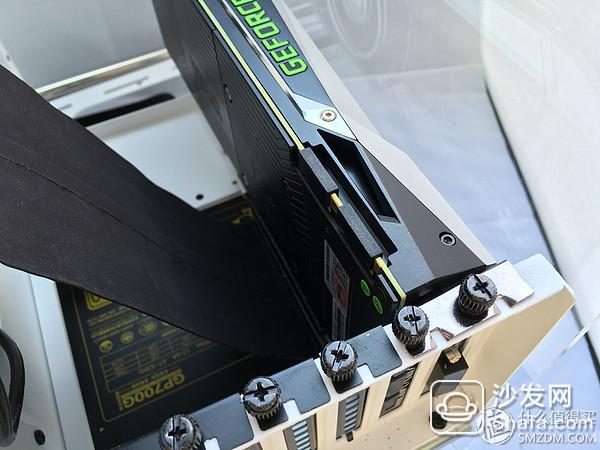
â–² Install PCI-E graphics extension cable, so that you can put the video card up and down, one to prevent the graphics card is bent, the second is to force the grid!
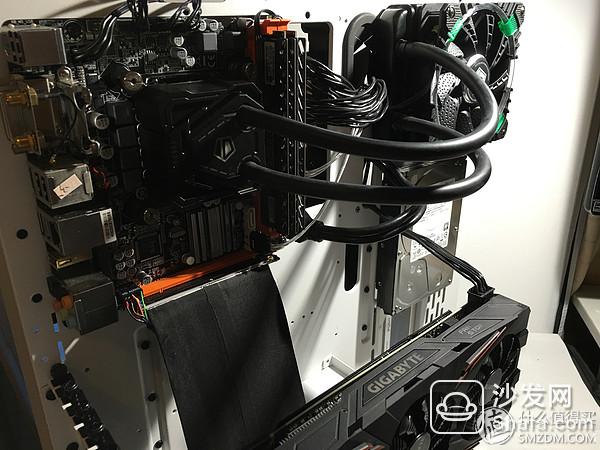
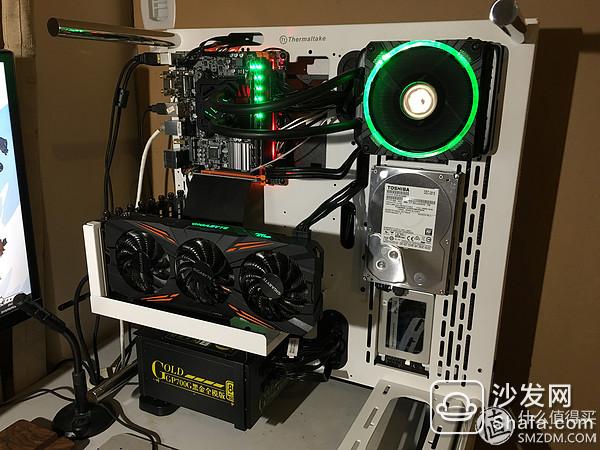
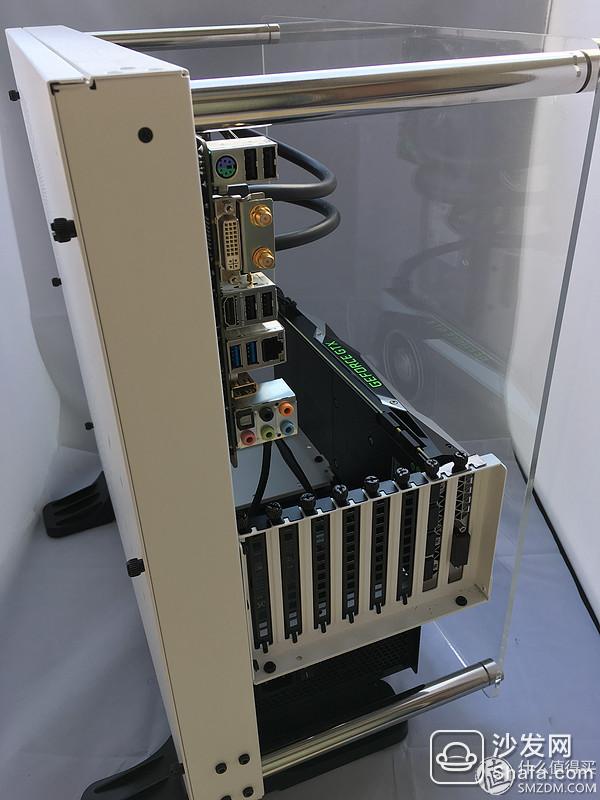
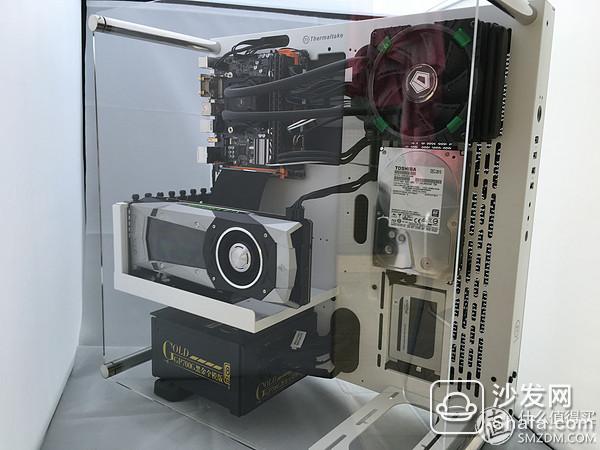
â–² insert the graphics card and hard drive, the whole installation is completed (when the equipment is too focused, forget to follow the back of the map, the water will fill in below)
â–² Cover the acrylic panel, even if the whole machine is completed
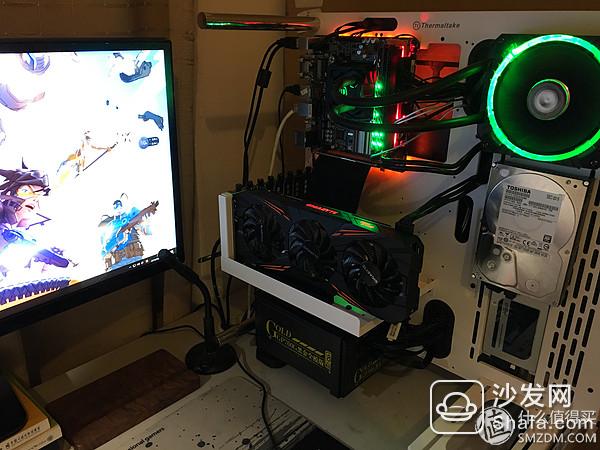
Later, Aunt Zhang sent me a GTX1080 test card. I took a few more photos when I tested it.
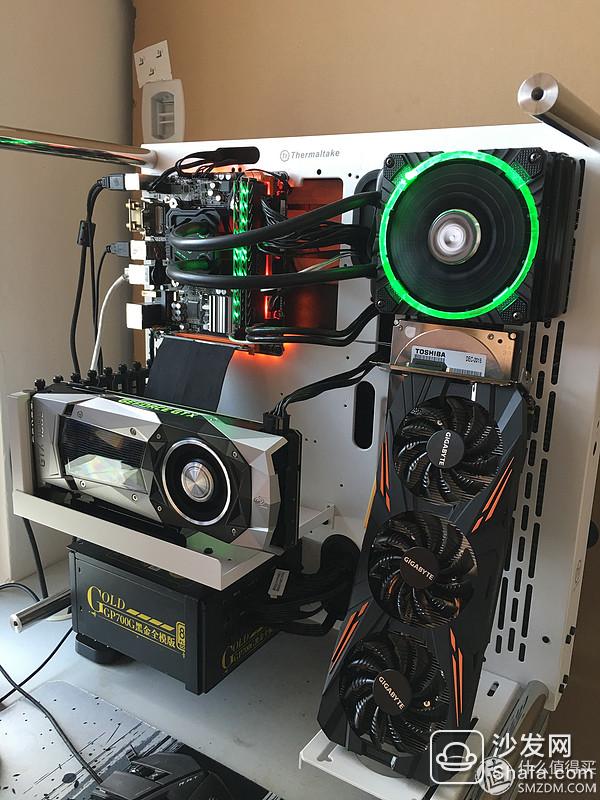
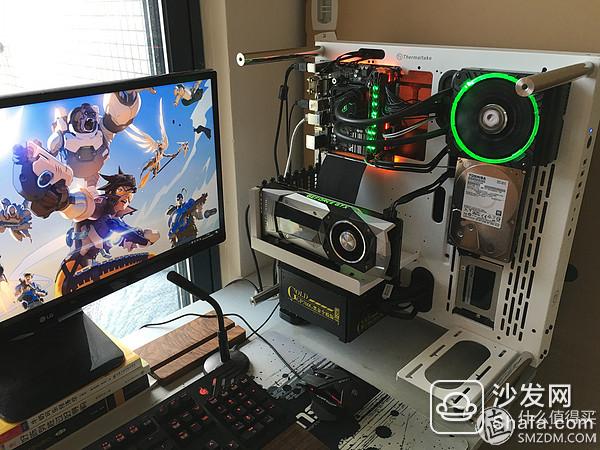
â–² The whole machine is loaded, as for the performance we can see me before the test articles
Split water coolingThen it paused for a long time, because my new home was also renovated. After I got to my new home in December, I started to split in water. In fact, the impression of split water cooling gives everyone the impression that the cooling effect is good and the power grid is high. However, the problems that follow are such as the high cost of split water cooling, the maintenance of water cooling, the lack of water pipes, and the fear of leaks. All in all, the disadvantages are greater than the trade-offs that make the public afraid or unwilling to purchase split water.
Many players will install split water cooling for the first time with suspicion and scruples, and in order to ensure that they can buy water-cooled kits such as EK, XSPC, or Taiwan’s TT and BP, etc., in order not to say that these manufacturers’ accessories are worthless. We all understand the principle of money-delivery, but we often overlook the progress of some domestic quality.
Before you plan to do separate water cooling, you need to have a clear diagram of the waterway and accessories on the paper or in your mind. The general simple waterway is the cold row - water tank - water pump - graphics cold head (CPU cold head) - CPU cold head ( Graphics card cold head)-cold row such a cycle, of course, this is simple, if the high-end motherboard will have the motherboard power water cooling and memory water cooling and other kits, the waterway will be more complicated.
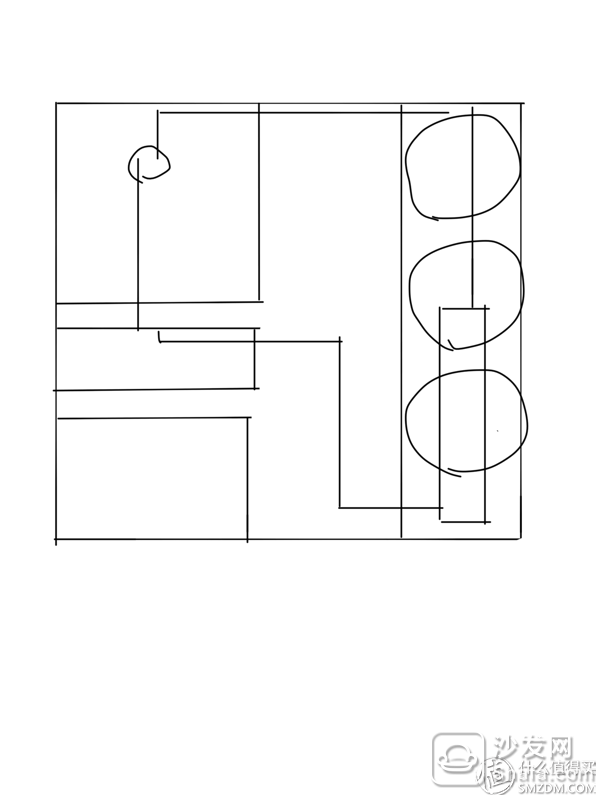
â–² For example, when I was doing it, I first drew a simple picture by using the mobile phone drawing software. How many twists and how many hot water pipes will be used in the next time will have a roughly
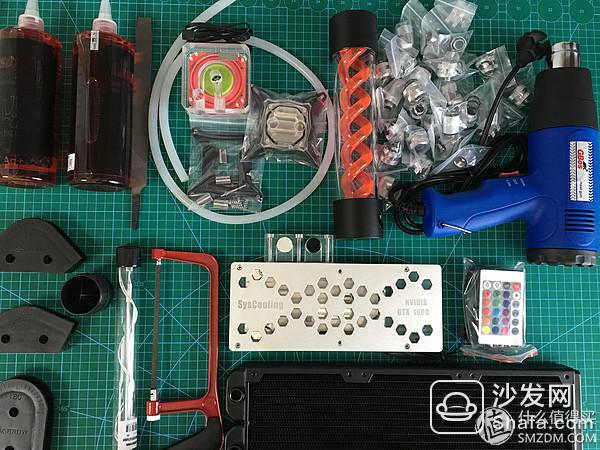
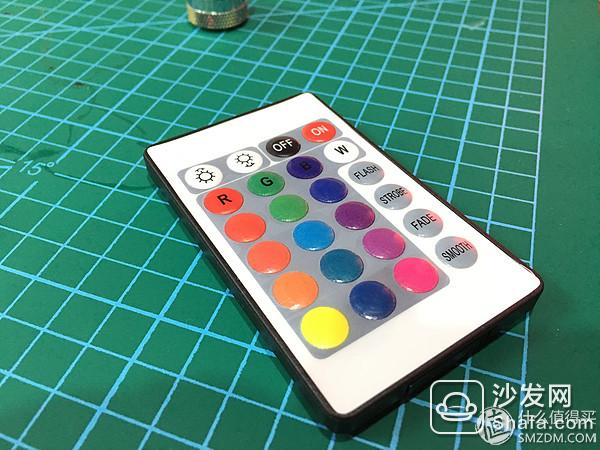
â–² We do not see many things that are very complicated. The realization of a number of accessories in a treasure will be combined with an accessory package to sell, there are all equipment for water cooling kit conversion, although the quality is not good, but the price is not expensive enough. The first things to be prepared from left to right are Poseidon red cold liquid (non-concentrated cold liquid, which can be directly injected into the water tank, can be used with a UV lamp to achieve UV effect), guillotine (incision after the Muping water-cooled pipe cutting), water-cooled pipe glue Article (insert water cooling tube to prevent bending and deformation of the heat gun when heating), DC water pump (domestic 4 meters lift, simply speaking, the lift is the meaning of how high the water can spray, not the higher the better, quiet is also very important) CPU water cooling Head (domestic full platform available), T virus tank (domestic, black and black on both sides of the plastic, cheap, metal version, slightly expensive but forced higher), a large number of quick twist, a few elbows, joints, plugs ( Domestic, generally a water-cooled tube is equipped with 2 fast screws in the absence of a flow meter, a hot air gun (heating the water-cooled tube to facilitate bending and molding processing), pipe bending device (plastic material, bending curvature is respectively 45 degrees , 90 degrees, 180 degrees), chamfering device (chamfering the water cooling tube inside and outside to prevent the sharp pipe head from damaging the waterproof rubber mat in the fast screw), UV lamp (into the water tank) with Cold liquid with a unique UV effect, need to explain is that I only this LED light), hand saw (cut water cooling tube, very difficult to use! Later I replaced the hand grinding machine to get a set, with the store after the store said that the improvement Hand saw set), video card water-cooled head (domestic Dongyuan brand, is an old brand of domestic water-cooled brand, great workmanship does not lose import brands, comes with RGB lights, very distinctive and recognition, modeling is also cool enough) , Dongyuan graphics water head matching RGB lights with remote control, 360 25mm thick cold row (domestic) and no mirror on the water-cooled tube (recommend us to use PETG material, acrylic fragile and long time will be yellow).
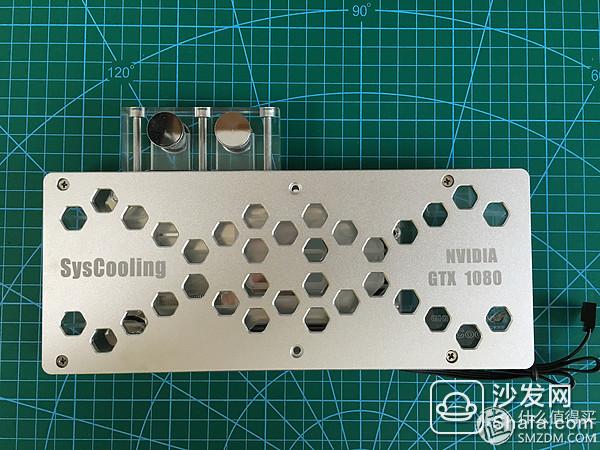

â–² This is a special feature for DongDong's video card cooling head. The workmanship is really great. It comes with 2 plugs and RGB strips as standard. Although it doesn't take care of the MOS power supply on the right side, it has very low heat, but its price is very high. Suitable for beginners
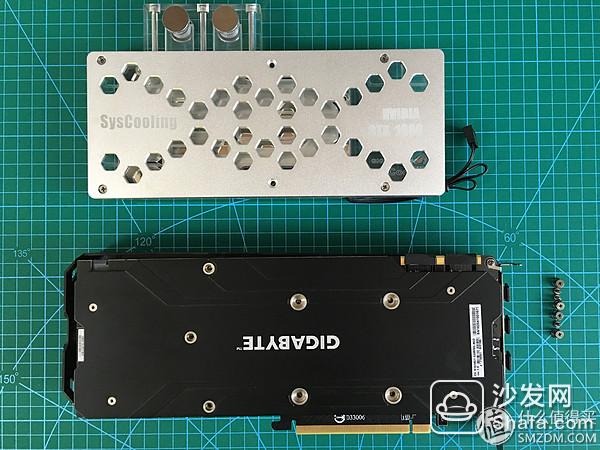
â–² First install the water cooling head on the graphics card
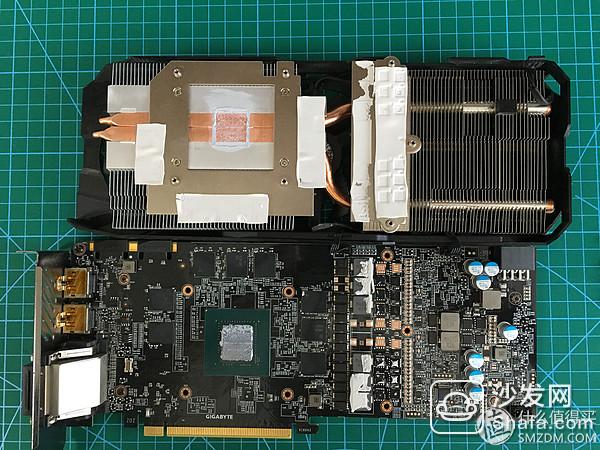
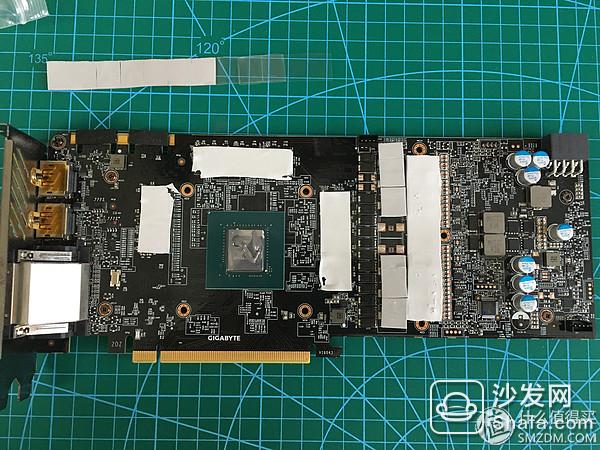
â–² After dismantling, re-apply silicone grease on the core of the graphics card and mount the graphics water-cooling head after affixing the heat-dissipating pad of the graphics water-cooling head to several high-temperature originals such as memory particles and power supply.
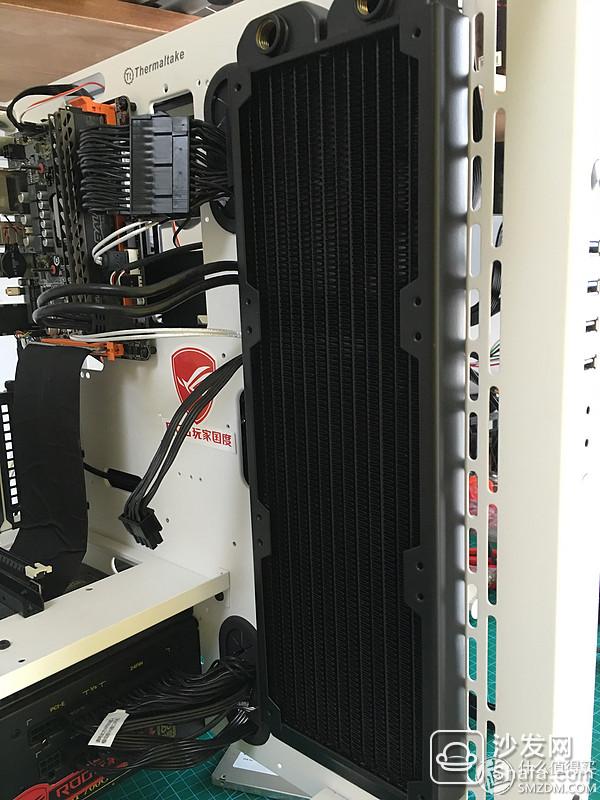
â–²Install 360 cold row
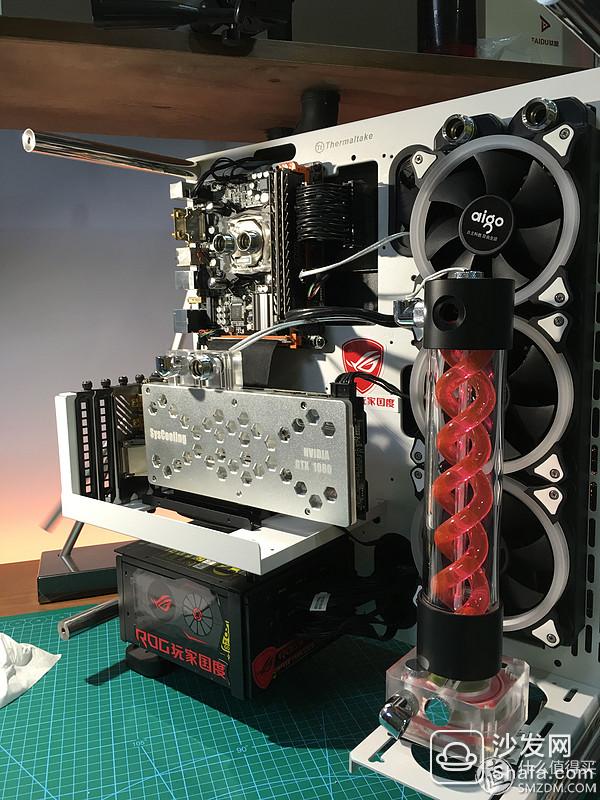
â–²Install the CPU cold head and fan and fix the position of the water tank and the water pump to facilitate measuring the length of the water cooling pipe. (You can see here that my graphics card has been placed in slot 3, effectively preventing the extension of the graphics card from breaking.)

â–² connected to a variety of interfaces, Core P3 chassis is large, just throw the line to cover the back cover on the line
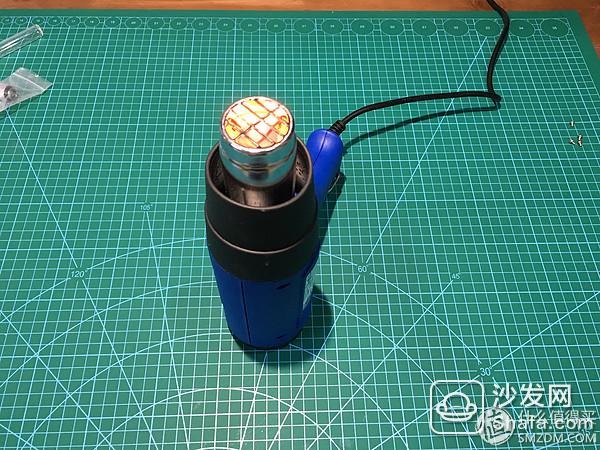
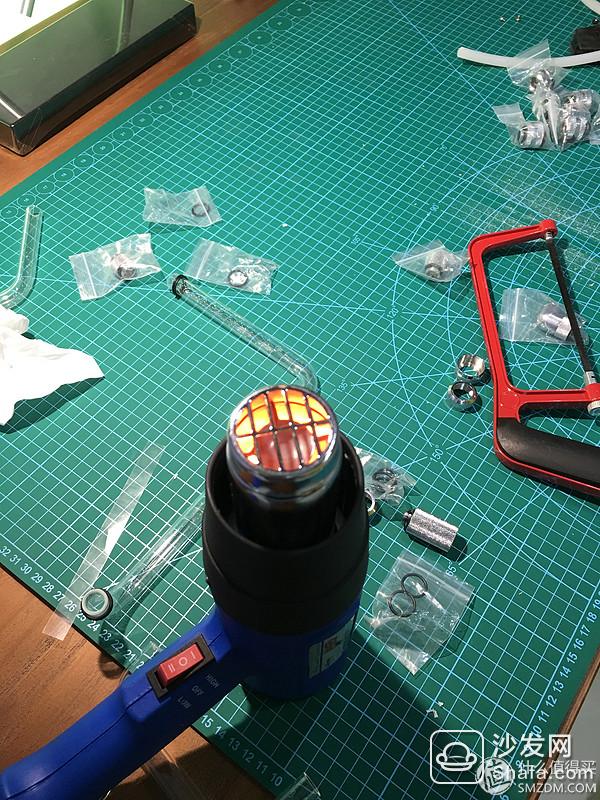
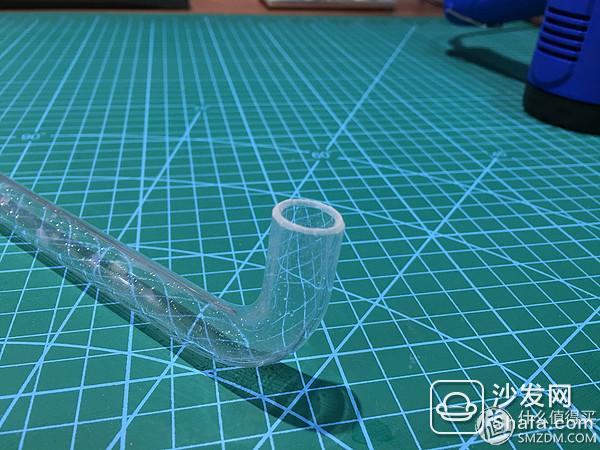
â–²Prepare the elbow and put it on the hot air gun for vertical operation
â–²Insert hose into water cooling tube
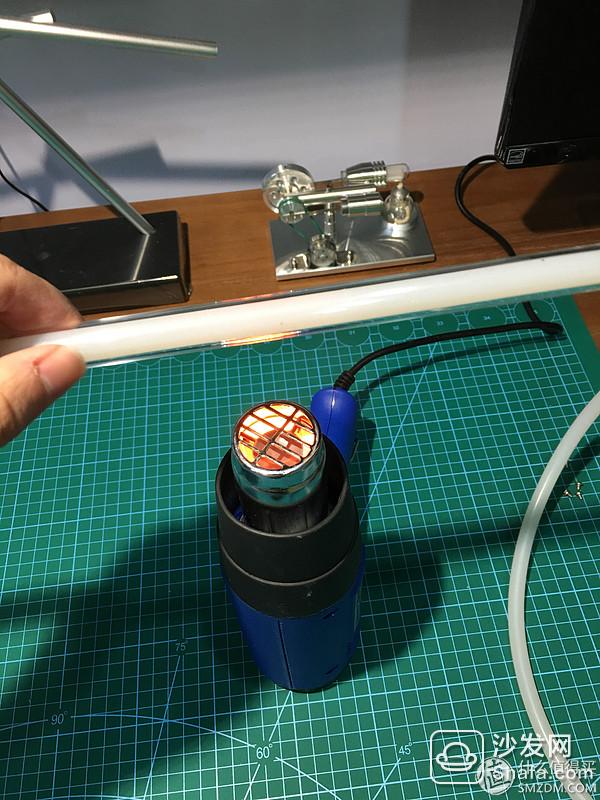
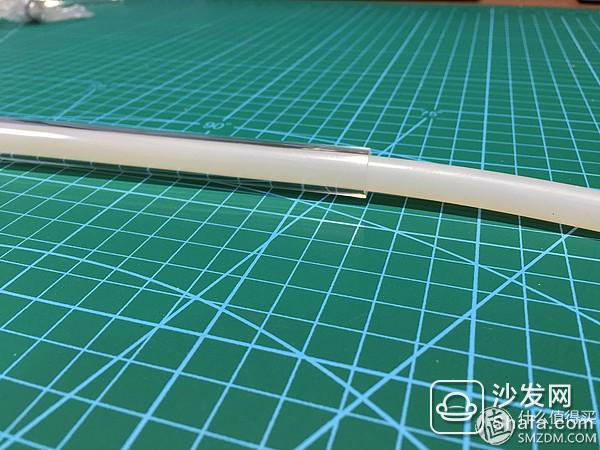
â–² Continue to turn left and right, and rotate the water-cooled tube to heat it. The time is about 20-30 seconds. The time can not be too short but it can't be too long. If it is too short to bend, the water-cooled tube will bubble and it will be wasted.
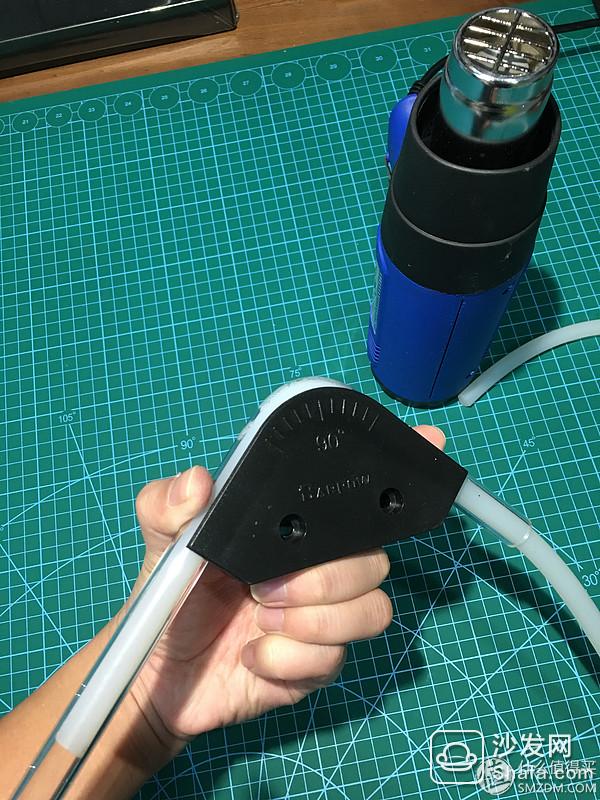

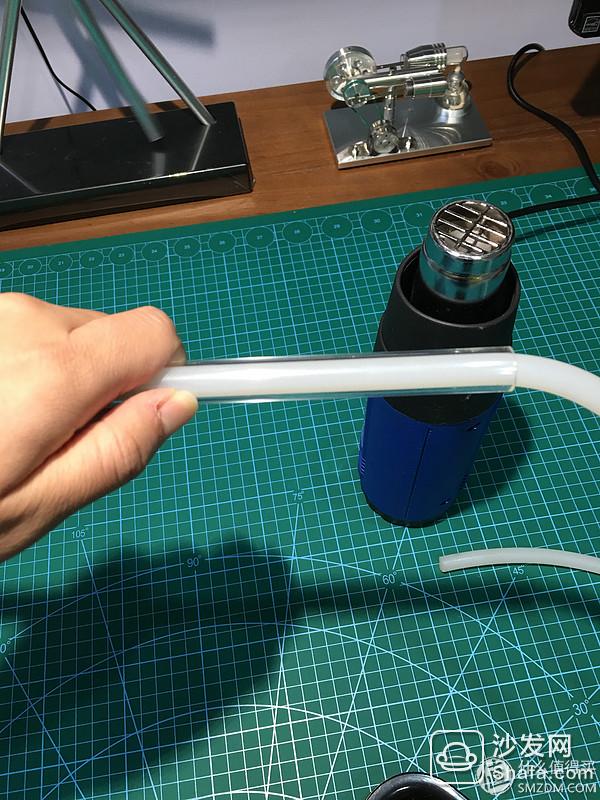
â–²After the time is almost enough, it can be bent into a bender that requires a curved arc. It takes about 5-10 seconds to set the curve.
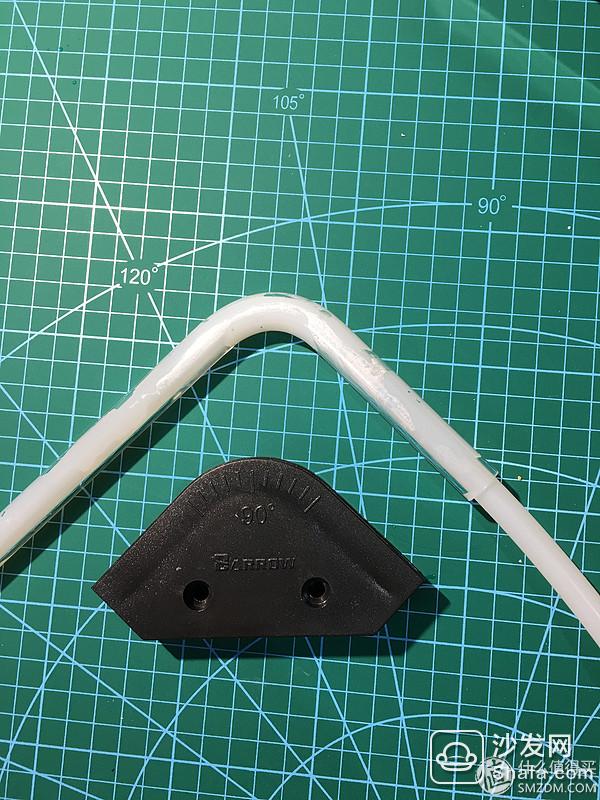
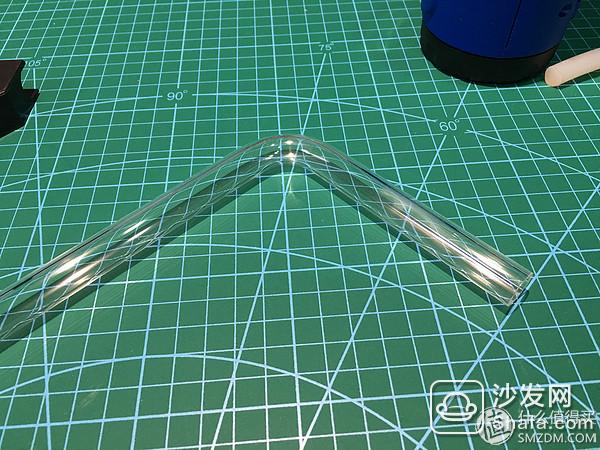
â–² Then take out the strip in the water-cooled tube. A perfect 90-degree water-cooled tube is completed.
â–² The next step is to compare the hardware length of the hardware for cutting and chamfering the inner and outer tubes with a chamfer.
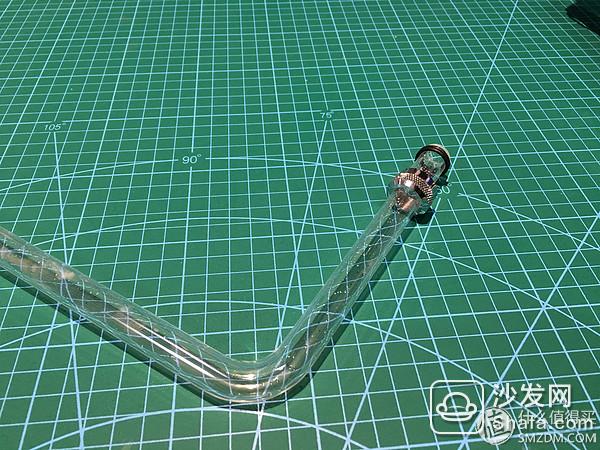
â–² After finishing, it can be fastened at both ends.

â–² Repeat the above part of the elbow process and complete the installation

â–²Do not be afraid of failure. Even if it is a water-cooled MOD high water, it is normal for waste water cooling pipes to be reported. The above is what I do get scrapped. It is recommended to buy more water pipes when buying water pipes. Water cooling pipes are very cheap.
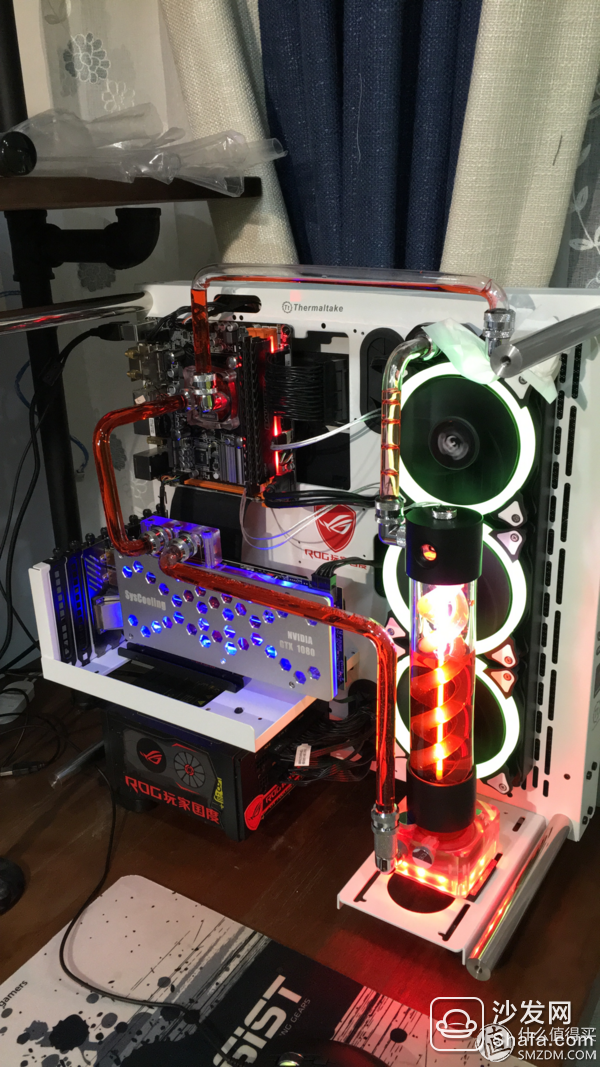
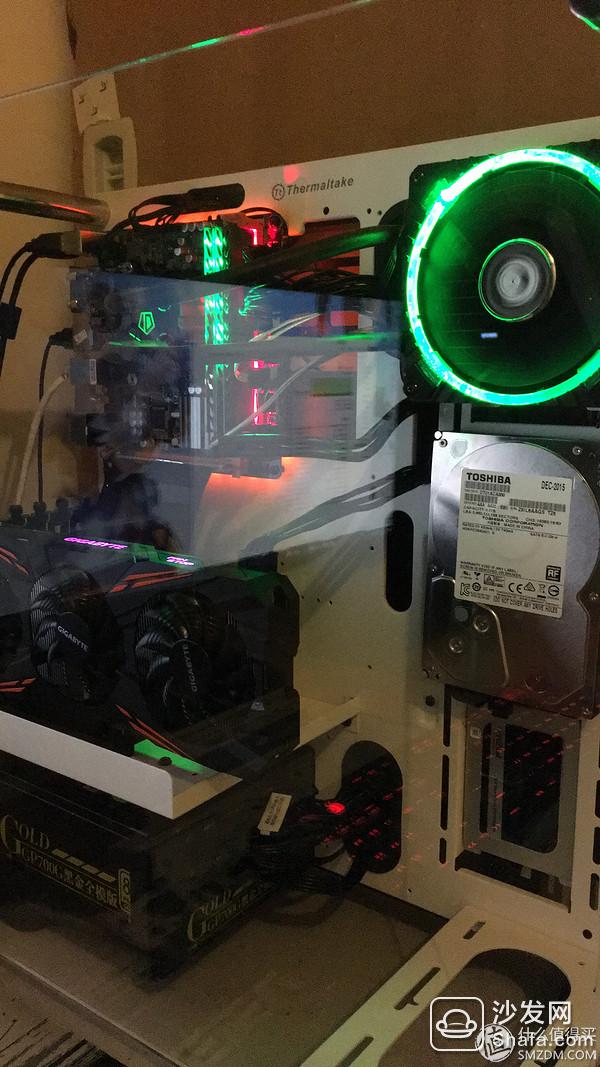
â–² Make sure that all the connectors are tightened to ensure safety. Put a few pieces of toilet paper at each interface to quickly detect leaks, then pour cool liquid and turn on the power.


 Weibo:
This waterway wastes your graphics card out of the hot water CPU

Lynx Box M13
Installation Guide>>
Huawei Glory Box Pro
Installation Guide>>
Millet box 3
Installation Guide>>
Infinik i9
Installation Guide>>
KKTV
Installation Guide>>
Letv TV S50 Air
Installation Guide>> Inventory backlog Apple cut homePod Partial order side tour Chicken God assists: DeLUX colorful T9X mechanical keyboard set experience to use the military firearms struck: Dareu Darwin EK855 RGB mechanical keyboard first to experience the first comment Road, Newegg & Transshipment Quartet (Postal Express usps) & Changsha Tax-free # Original Creative Person Bring DJI Dada Osmo Mobile 2 What can you bring with you when you travel to Hong Kong?
  Canon EOS M6 camera start experience from entry to give up: Synology Synology DS416play NAS network storage usage report (on) A bumpy upgrade path - NETGEAR R6400 hand brushing Merlin firmware experience Blackgroup Hui DSM6.1 installation brief tutorial ( Attached Download) Synology DSM6.1 Application Detailed Part Two: Synology DSM 6.1 Data Security Three Rim → Synchronize, Backup, Snapshot, +Recruits USB Copy2.0
 Carbon Microphone,stability Carbon Microphone,old Carbon Microphone,Hot Sale Carbon Microphone
Gaoyou Huasheng Electronics Co., Ltd. , https://www.yzelechs.com
Pro, you need to login to comment!