In the Demo demo of Zedboard, the system was tested by Quad-SPI FLASH and SD memory card. Another way to configure Zynq chip is through JTAG interface, and FPGA logic debugging and embedded software debugging also need to pass JTAG. Let's take a look at how to do embedded system development on Zedboard. Xilinx offers a complete set of software and hardware design development tools, ISE Design Suite, which integrates various development software and can be downloaded free of charge from the Xilinx website. Note that in order to be able to use the latest Zynq chip, you must download ISE Design Suite 14.1 or above. The FPGA design tools are very large. The 14.1 version of ISE accounts for 6.5G, which is very scary. After the download is complete, the installation begins.
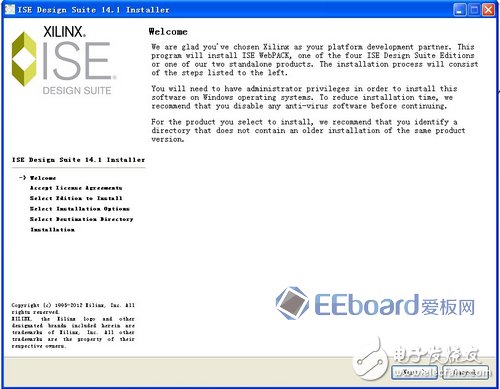
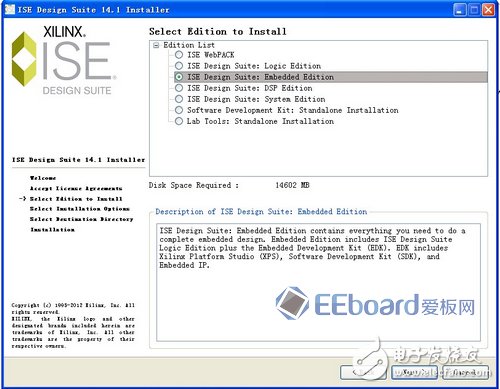
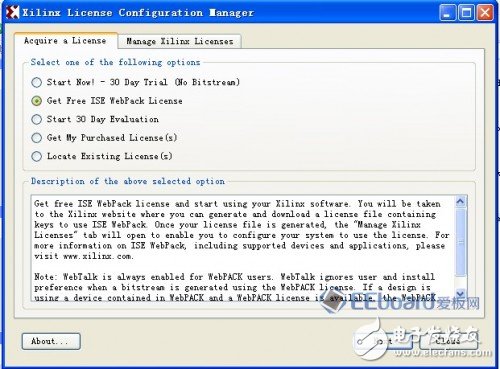

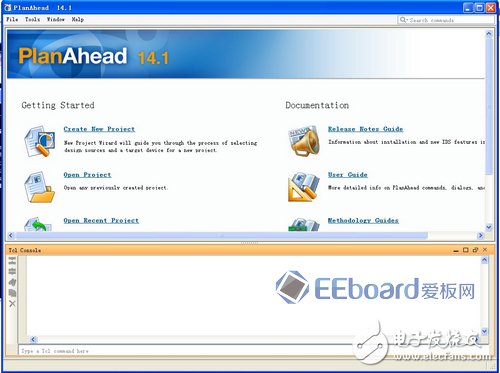
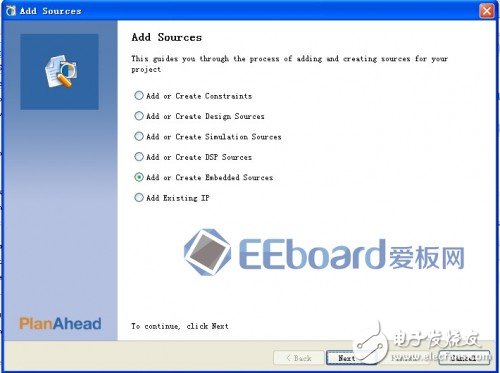
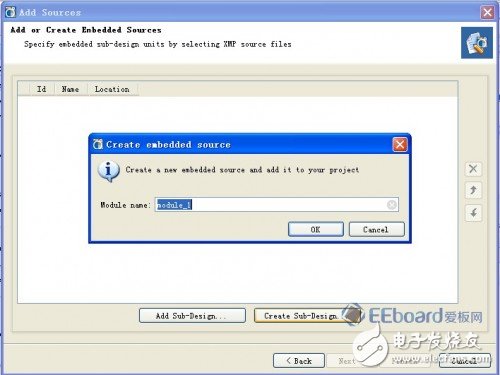
PlanAhead: This is an entry point for Zynq's embedded system design, integrating the embedded hardware design tool XPS and the software design tool SDK, as well as ISE tools such as logic synthesis.
Xilinx Platform Studio (XPS): used to build embedded system hardware platform
Xilinx Software Development Kit (SDK): Embedded Software Development Environment
ChipScope Pro: On-chip signal logic analysis tool
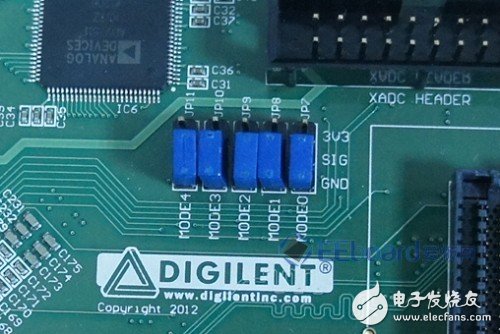
After the software installation is complete, you can now experiment with how to implement embedded system software and hardware development on the Zedboard hardware platform. Before that, it is recommended to download a Zedboard board definition file, which will be used in the later Zynq hardware configuration. The Zynq chip integrates the processor and programmable logic. We know that its internal can be divided into PS (Processing System) and PL (Programmable Logic) parts. The PS and PL sections can be configured independently or integrated together, which means that we can build the PS system separately (if the PL part is not used), or the PL logic can be configured separately (the PS part is only used as the control of the configuration PL logic). The PS and PL logic can also be configured at the same time. It can be seen that the Zynq chip can flexibly build an embedded platform to achieve different functions. Establishing an independent PS system To build an independent PS system, we only build an ARM embedded system in the PS part. No additional PL logic is required. Using Xilinx tools, we can quickly build a system without even writing any code. The design is really convenient. First, the MODE selection jumper on the Zedboard is set to be launched via JTAG (see the Zedboard Demo demo) as follows:

Dc Power Contactor,Contactor Relay,Dc Contactor Relay,Dc Magnetic Contactor
NanJing QUANNING electric Co.,Ltd , https://www.quanningtrading.com