Everyone knows that the current Apple family's iPod video/classic series have been discontinued for some time. Many friends will convert the iPod's 1.8-inch hard drive into an SSD and replace the battery to extend the life of the iPod. (Because the iPod video/classic click wheel operation is still very classic) However, I found that the current SSD conversion is all sold directly by domestic manufacturers are integrated SSD solid state flash modules, capacity can not be upgraded twice, and It is more troublesome to refit. I found an upgrade kit called iFlash at OWC. The feature of this kit is that it uses SD flash memory card as the storage medium for iPod, so the capacity can be purchased as required. In the spirit of adopting and tossing in the end, I spent 49 knives to purchase this upgrade kit from OWC. This site can be used for direct mailing and international postage can be used. I chose the USPS's registered express delivery service, with less postage. 55 knife, according to the RMB exchange rate (you know) at the time of purchase is about 350 or so, took two weeks to get it, not tax.
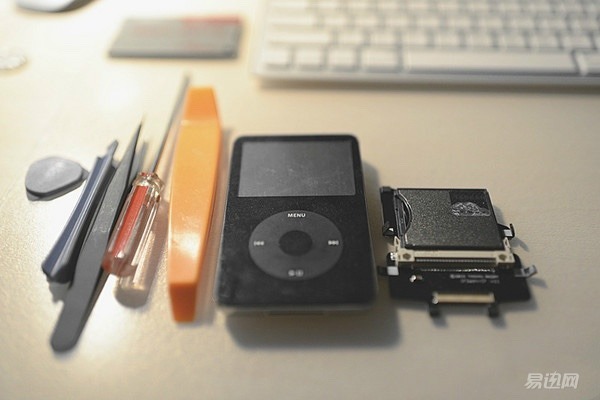
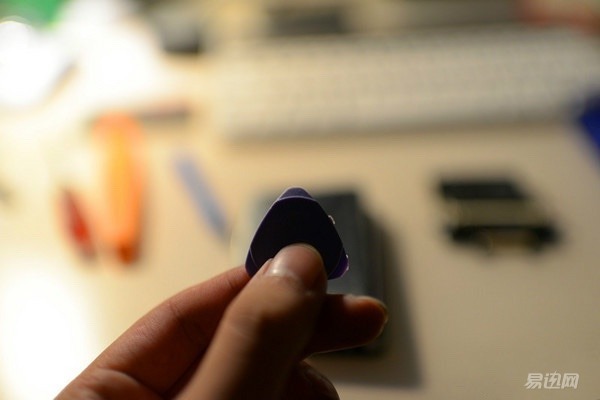
The following is my preparation before the disassemble, in fact, as long as the use of two small rods and dice can be, the right is the iPod iFlash suite
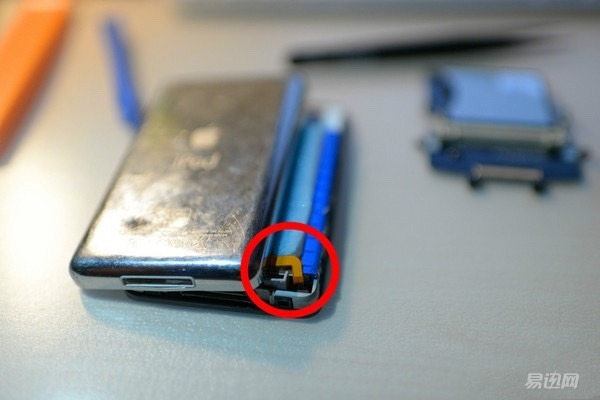
1. Use a crowbar to open a little bit of data from the data interface (but be careful not to use too much force may cause metal deformation at the interface), and then use the split-mouthed triangle to disassemble the entire plastic front panel and rear metal along the gap. The shell is opened in a circle. Personally, it doesn't feel a lot of trouble. I didn't use adhesives before and after the iPod.
 2. Pull out the power cable. Pay attention to the power cable when you first need to open the fixed power cable latch, open method is to pull up gently with tweezers.
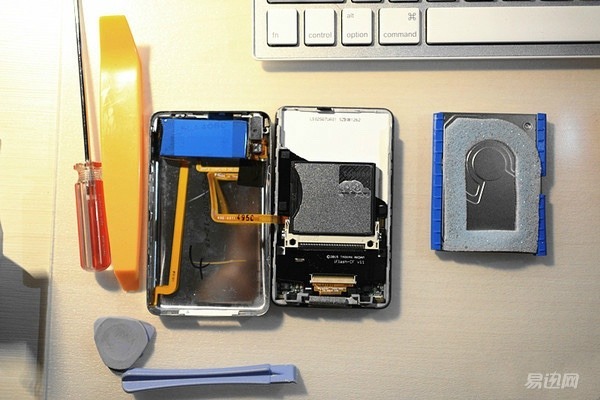
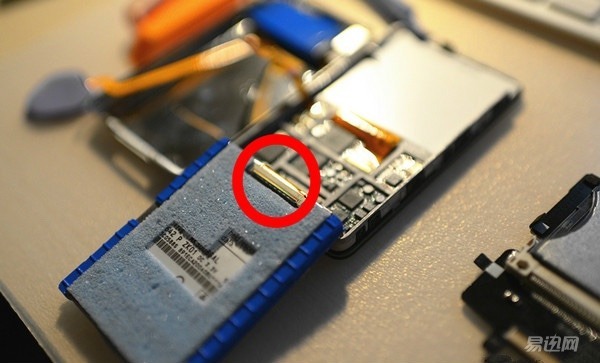
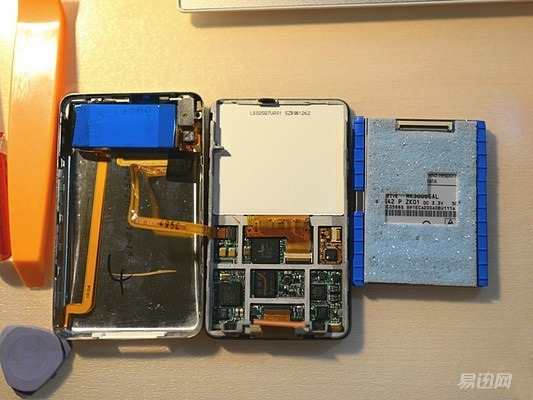
3. After unplugging the power cable, you can open the entire metal back cover. You can see the 1.8-inch hard drive lying quietly inside. Turn the hard drive open to see the data cable. The lock of the fixed data cable can be unlocked by opening the dice, slowly pulling the data cable out of the hard disk interface, and the entire hard disk is removed.

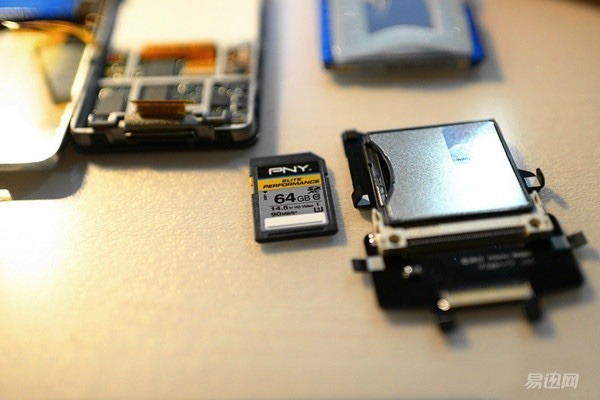
4. Insert the SD card into the flash memory card slot on the kit. I use the PNY SDXC 64G test. OWC gives the flash card brands and types that they have tested so far, and compatibility instructions. (Unfortunately, this card is not in the list, the same paragraph 128GB in the list)

5. Insert the data cable into the iFlash upgrade kit and use a tweezers to lock the buckle. Then install the kit on the original hard disk. Personally feel that this kit is designed to be good, just stuck in place, and will not shake. Finally, insert the power cable into the power socket, and then use the latch to press the latch down to lock the power cable.
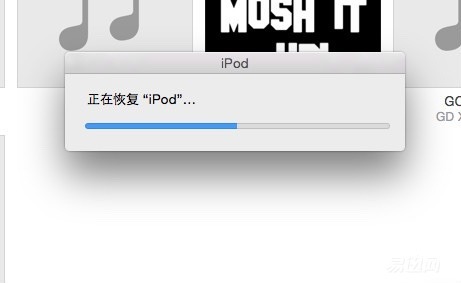
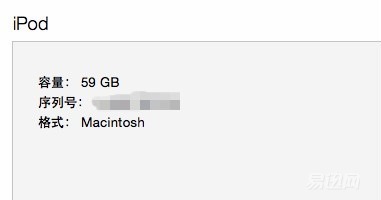
After the installation is complete, use the data cable to connect to the Mac and open iTunes directly to identify the iPod that needs recovery. After the restoration is completed, the available capacity of the 64GB card is 59GB, and several songs have been tested on the iPod. The functions are normal and there is no compatibility problem.